Profiles
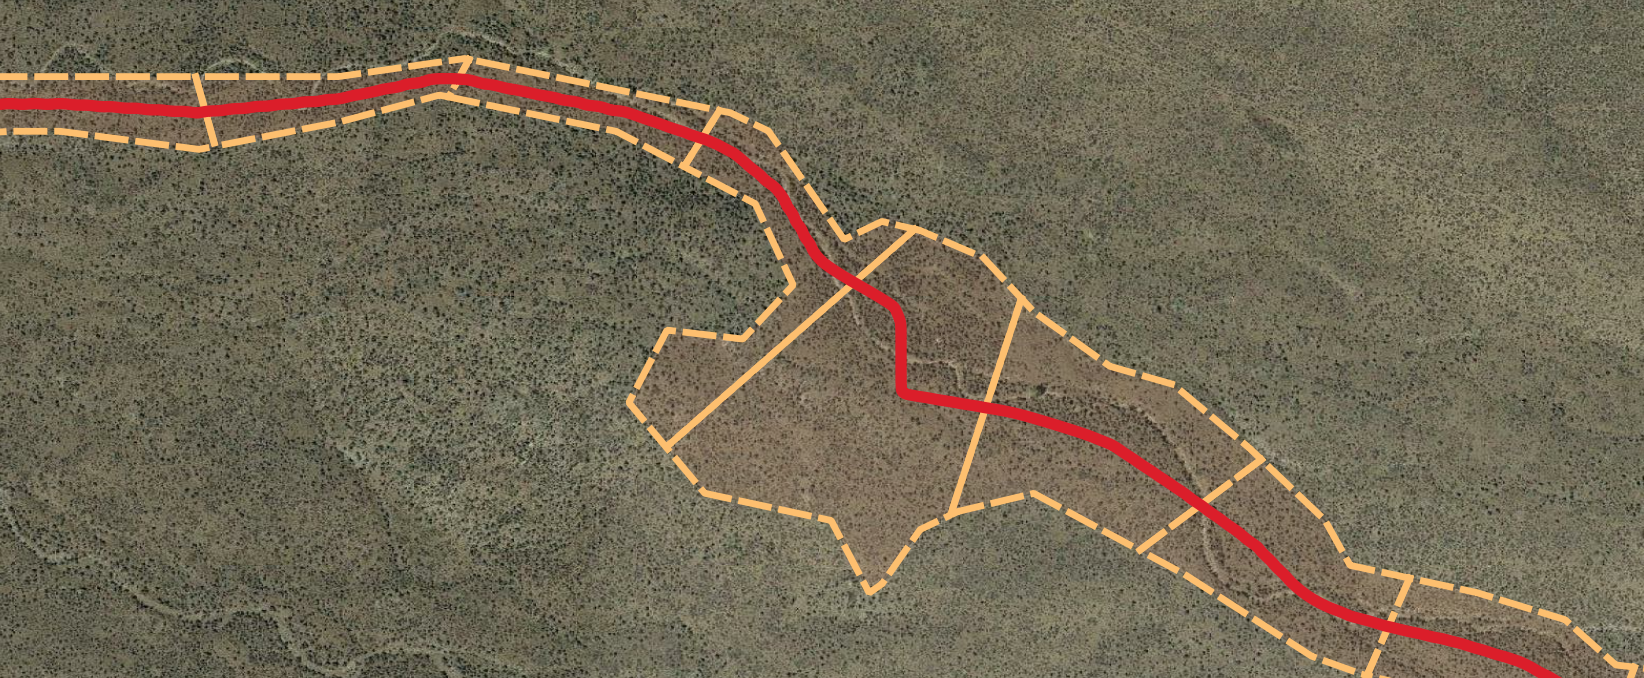
QRiS profiles represent longitudinal lines down your riverscape. The most common use is to represent the valley centerline. Profiles are used to create cross sections, and from there, generate sample frames.
Import an Existing Profile
You can import an existing polyline feature class and use it as a profile. To do this, right click on the Profiles folder in the QRiS project tree and choose Import Existing Profile. Browse to the location of the polyline feature class and click Open. Provide a name and optional description. You can also define key/value pairs of metadata that help describe the origin of the data. Click OK to import and create a copy of the feature class within your QRiS project.

Create a New Profile
You can create a new profile by drawing a polyline on the map. To do this, choose the Create New Profile option from the Profiles folder within your QRiS project. Provide a name and optional description and then click OK. Add the new profile to the map by clicking the Add to Map button. You can now use the standard QGIS editing tools to digitize the polyline on the map. Remember to stop editing and save your changes before the profile is available for use with other features.
Centerline tool
The centerline tool creates polylines down the middle of polygons. It can be used with several QRiS polygon layers. It is typically used to derive the centerline down a valley. To use the centerline tool:
Right click on a polygon layer within your QRiS project and choose Generate Centerline. The centerline dockable window will appear and the polygon layer on which you clicked will be added to the map.
On the centerline dockable window, ensure that the polygon layer you clicked is chosen as the Polygon Layer.
Pan the map so that the polygon layer is visible and conveniently centered. If your river is long, you might not be able to fit the entire polygon on the map display.
Click the Select button beside the Polygon Feature field. Now click on the polygon feature that you want to use to generate the centerline. The polygon will be highlighted in yellow and this is now the polygon that will be used to generate the centerline.
Click the Select button beside the Start of Centerline field. Carefully click and hold down the left mouse button to one side of the polygon and then click again on the other side. The goal is to create a transect across the polygon near the top of the reach.
Repeat this process for the End of Centerline field. The goal is to create a second transect across the polygon near the bottom of the reach.
If you make a mistake, you can click the Reset button to clear the transect and start again.
Once you have defined an upstream and downstream transect you can click the Generate Centerline button. This will run the centerline tool and place a temporary centerline in the map for you to review. If you are happy with the centerline, you can click the Save Centerline button to save the centerline as a new profile in your QRiS project. You can also click the Reset button to remove the temporary centerline from the map and start again.
Remember that the centerline tool is only a starting point. You will likely need to edit the centerline to make it more accurate. You can do this using the standard QGIS editing tools. Remember to stop editing and save your changes before the profile is available for use with other features.
Add a Profile to the Map
You can add an profile to the map by right clicking on any individual profile in the QRiS project tree and selecting Add to Map. This will add the profile to the map as a new layer.
Edit a Profile
You can edit a profile by right clicking on any individual profile in the QRiS project tree and selecting Edit. This will open the profile in QGIS and allow you to edit the name and description. You can also add the profile to the map and use the standard QGIS editing tools to edit the polyline feature. Remember to stop editing and save your changes before the profile is available for use with other features.
Delete a Profile
You can delete a profile by right clicking on any individual profile in the QRiS project tree and selecting Delete. This will remove the profile from the QRiS project.