Advanced LTPBR Design
Overview to CEWA/WATS 6627
This is the main resource page for the CEWA/WATS 6627 - Advanced LTPBR Design course offered at Utah State University. This course is part of an advanced series of courses on Low Tech Process Based Restoration (LTPBR) offered through USU and the Riverscapes Consortium. The course is designed to provide hands-on experience with LTPBR planning using QRiS and is a direct follow up to the Introduction to LTPBR Design in the Intro to LTPBR Spring Series.
Description: Advanced course in site-scale design of LTPBR project using Riverscapes Studio. Students will conduct desktop designs and prepare design report. One-week short course remotely over video meetings. Prerequisite recommendations: Students are recommended to be proficient in GIS.
This page appears here on the QRiS documentation site as QRiS users may find it helpful for self-guided learning.
CEWA/WATS 6627 - Syllabus
Fall 2025 - Syllabus on LTPBR USU Site.
Community
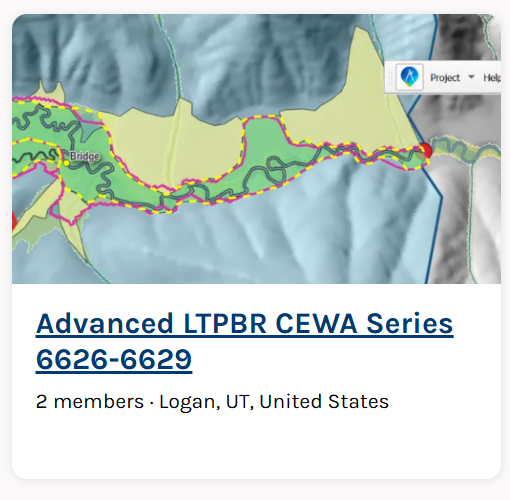
Community Page on Riverscapes Consortium for Advanced LTPBR CEWA Series 6626-6629
Event Page for 2025 Course
Event Page with Meeting Joining Details
Prerequisites and Preparing for Class
Background or Catch-Up Reading
We assume you have read and are familiar with Chapter 4 and Chapter 5 of the Design Manual. This was assigned in WATS 5623/CEWA 5623, but if you have not taken that course, please read it now. If you have not taken WATS 5623/CEWA 5623, you should watch the self-paced lecures.
This course will be focused on how we quanatitative use mapping and analysis in QRiS to build off of these concepts from the Intro to LTPBR Design course:
Moudle 4C
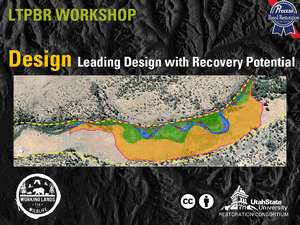
Leading Design with Recovery Space
Moudle 4D
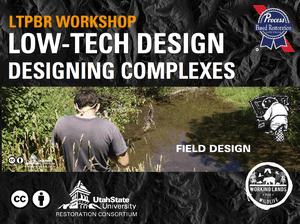
Design Standards of Practice & Designing at Complex Scale
Moudle 4E
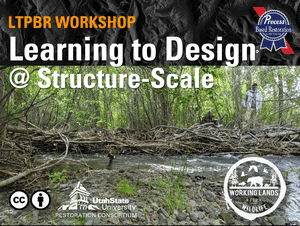
Learning how to Design at Structure Scale
Moudle 4F
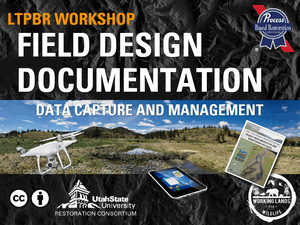
Putting it all together in the field
Software Requirements
- Install QGiS and the QRiS and Riverscapes Viewer Plugins (see here).
If you did not take the prerequisite planning course, please review the software installation instructions and ensure you have QGiS, the QRiS plugin, and the Riverscapes Viewer plugin installed and working before the first day of class. If you need help with this, please show up on Monday morning at 8:45 AM instead of 9:00 AM.
Main Assignment
The main outcome of this workshop is to complete a LTPBR Design for a single phase of a project in a project reach of your choosing (preverably the site you used in the Planning Class) using QRiS.
You will:
- Complete a Riverscapes LTPBR Design Report (through design section of template) with your supporting maps and analyses using QRiS. This report will be saved as a PDF, and added as an attatchment to your Riverscapes Studio Project.
- Update your QRiS Project from Planning Class, and export as updated Riverscapes Studio Project (or make new one if you don't yet have one) and publish to the Data Exchange. We do not advise your to do a design without having completed a planning assessment first. However, you can still do the techical steps of creating a design, it just will not be as well informed as it could be if you had done a planning assessment first.
- Create or update a draft PBR Explorer Project Entry for Proposed Work. You can optionally make this private and part of a Data Exchange Organization you create that you give instructor access to.
- Present a 10 minute presentation on Thursday of your project to the class.
- Post a link to your presentation and Riverscapes Studio Project in the Riverscapes Consortium Community.
Yes, you can build off what you started. For those of you that completed the WATS/CEWA 5623 Introduction to Planning Course, you will already have chosen a site, and have the start of a report and design. It is perfectly reasonable to pick up the old report and the same design and just re-do and expand a more througough analysis and design report using QRiS. It is also accepable to pick a new site and start fresh.
Those that have not taken WATS 5622 or did not complete that course assignment, will need to pick a site and write a report from scratch.
Formative Exercise - Sharing your proposed site
Submit your proposed site as Private PBR Explorer Project
Everyone will submit their proposed site as a Private PBR Explorer Project to a Data Exchange Organization we create and give you all access to. We will do this as in-class demo together on Monday.
Resources
Class Recordings
Details
Our morning sessions are recorded for your reference.
Monday
Forthcoming - Will post after class.
Tuesday
Forthcoming - Will post after class.
Wednesday
Forthcoming - Will post after class.
Thursday
Forthcoming - Will post after class.
Community Resources
These communities from the Riverscapes Consortium are great places to ask questions, connect with colleagues and share your work.
Advanced CEWA LTPBR Series Community
The community for connecting with others in this class and the advanced series of Adavanced LTPBR courses.
Riverscapes Studio Users
Community of QRiS Users. Stay up to date on latest releases, webinars, trainings, ask questions and share your work.
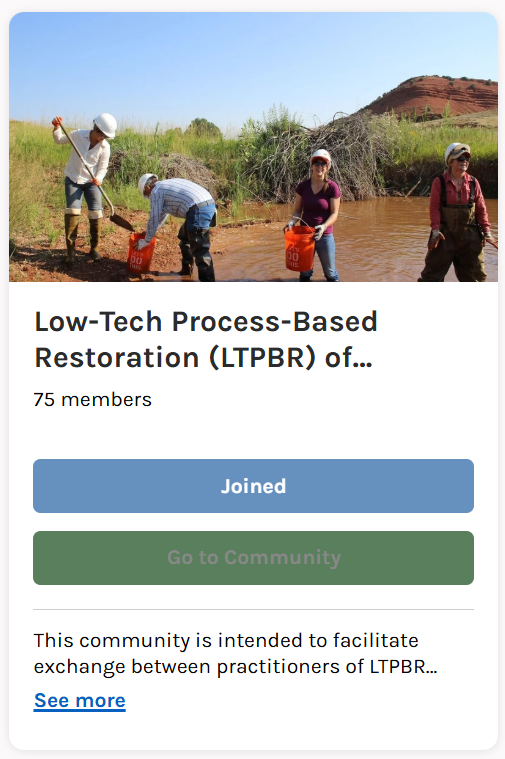
LTPBR of Riverscapes - Practitioner Community
This community is intended to facilitate exchange between practitioners of LTPBR anywhere in the world.
Assignment Resources
This section elaborates on some of the questions you engage with in the Design portion of Conservation Planning Process (CPP) adapted from Bennett et al. (2019) and outlined in Chapter 3 of the LTPBR Design Manual.
If this class was in person, we would use Monday to approximate answers to these questions at the desktop and with freely available data. We would use Tuesday to get out in the field, see how good our desktop design was, fill in gaps of our ounderstanding from the desktop, and refine our design based on on-the-ground assesment. Then we would use Wednesday to pull together both field and desktop evidence, and have a revised design. You can do this on your own with the riverscapes you work in.
Report Template
You can make your own report, or you can use this Google Docs template for the report. You can expand and refine the section headings as you see fit, but you need to minimally include these sections and answer the questions posed.
If you do use a Google Doc, please share it with your instructor(s), so they can give you suggestions when you submit your project. You may choose to add other students, or make it visible to those with the link.
We show you how to use it in this video:
When you submit your assignment, please do not submit it as a link to the Google Doc. Instead, export it as a PDF and submit the PDF as an attatchment in your Riverscapes Studio Project.
Using Zotero Cite While You Write Add-ON
Optional: Zotero is a powerful and free citation and bibliography manager (alternative to EndNote), which you can use to keep track of your citations. This help reference explains how to use Zotero with Google Docs. You will need Zotero Connector Extension installed in your browser for it tow work with Google Docs.
In Class Exercises
Data for Exercises
Fall Creek Demo - Riverscapes Studio Projects
Riverscapes Studio Collection with Starter, Full Planning Project, and Design for Fall Creek, Wyoming with context layers.
Fall Creek - Riverscape Models for Context
Collection of Riversapes Context and Valley Bottom and Antro Projects from Data Exchange
In class, we will work through exercises to practice the steps of LTPBR Planning using QRiS. We will use freely available datasets from the Riverscapes Data Exchange to create a QRiS project for a hypothetical assessment of Fall Creek, Wyoming.
In general, you will be expected to apply what we cover in exercises to your own project for the assignment.
A. Informing and Leading Design with Planning: Recovery Space, Resource Inventory & Conditions
- Review of recovery space, Risk Assessment, and Geomorphic Units from previous class and how they apply as context to inform the designing process.
- Geomorphic Units: valley bottom (channel, active floodplain, inactive floodplain) and valley (terrace, moraine, alluvial & colluvial fans) geomorphic units (i.e., building blocks of the riverscape). For designs, we are interested in converting inactive floodplains to either active floodplain or active channel.
- Active Margins: abutment of channel against valley bottom, valley, and/or anthropogenic margin. For designs, we will avoid these locations as they have limited recovery space and can pose potential risks to infrastructure (if listed as anthropogenic margin).
- Risk Potential: infrastructure, land use, and other anthropogenic features that should be avoided in restoration implementation especially when classified at medium to high risk.
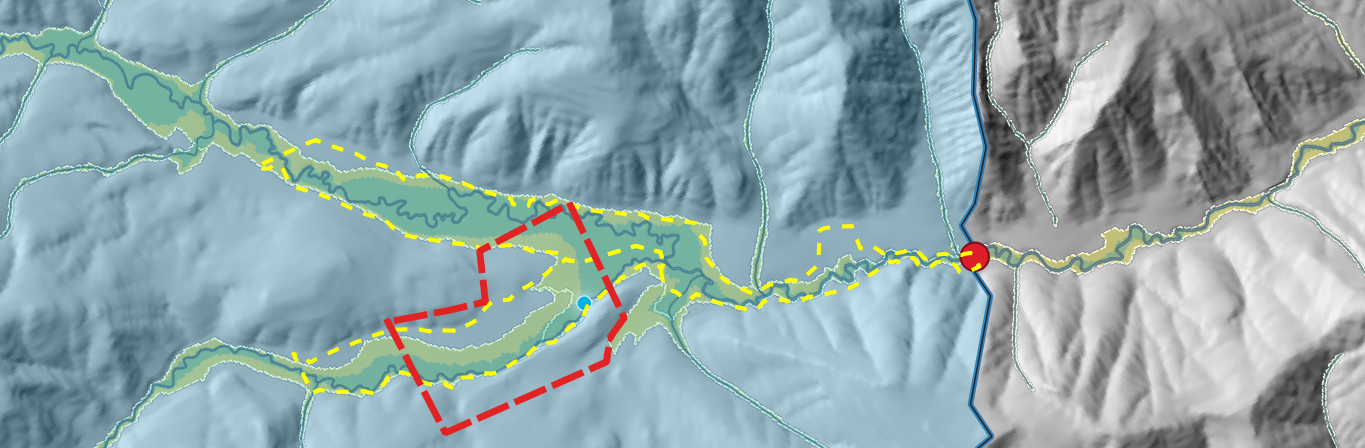
- Recovery Space: portion of valley bottom available for restoration practices and structure implementation (i.e., where the design will be implemented at).
B. Adding A Design to QRiS
- Right click on
Data Capture Events, selectLow-Tech Process-Based Restoration, and click onAdd New Design. - Name your design project (e.g., Phase 1 Design)
- Add relevant design layers to your project from the Design Protocol in the
Available Layerspanel to theLayers in Usepanel - Fill out metadata values under
Basic Properties, including Associated Valley Bottom, Project Phase, Design Date(s), Design Status, *Designers, and Design Sources relevant to your project. - Under
Bases for Design, select raster layers and/or Data Capture Events that will be used as context for your design. - (Optional) Fill out descriptive narratives (project goals, riverscape constraints, etc.) and other relevant details (web links, YouTube videos, etc.) about your design under the
DescriptionandMetadatatabs.
C. Overview of Design Layers
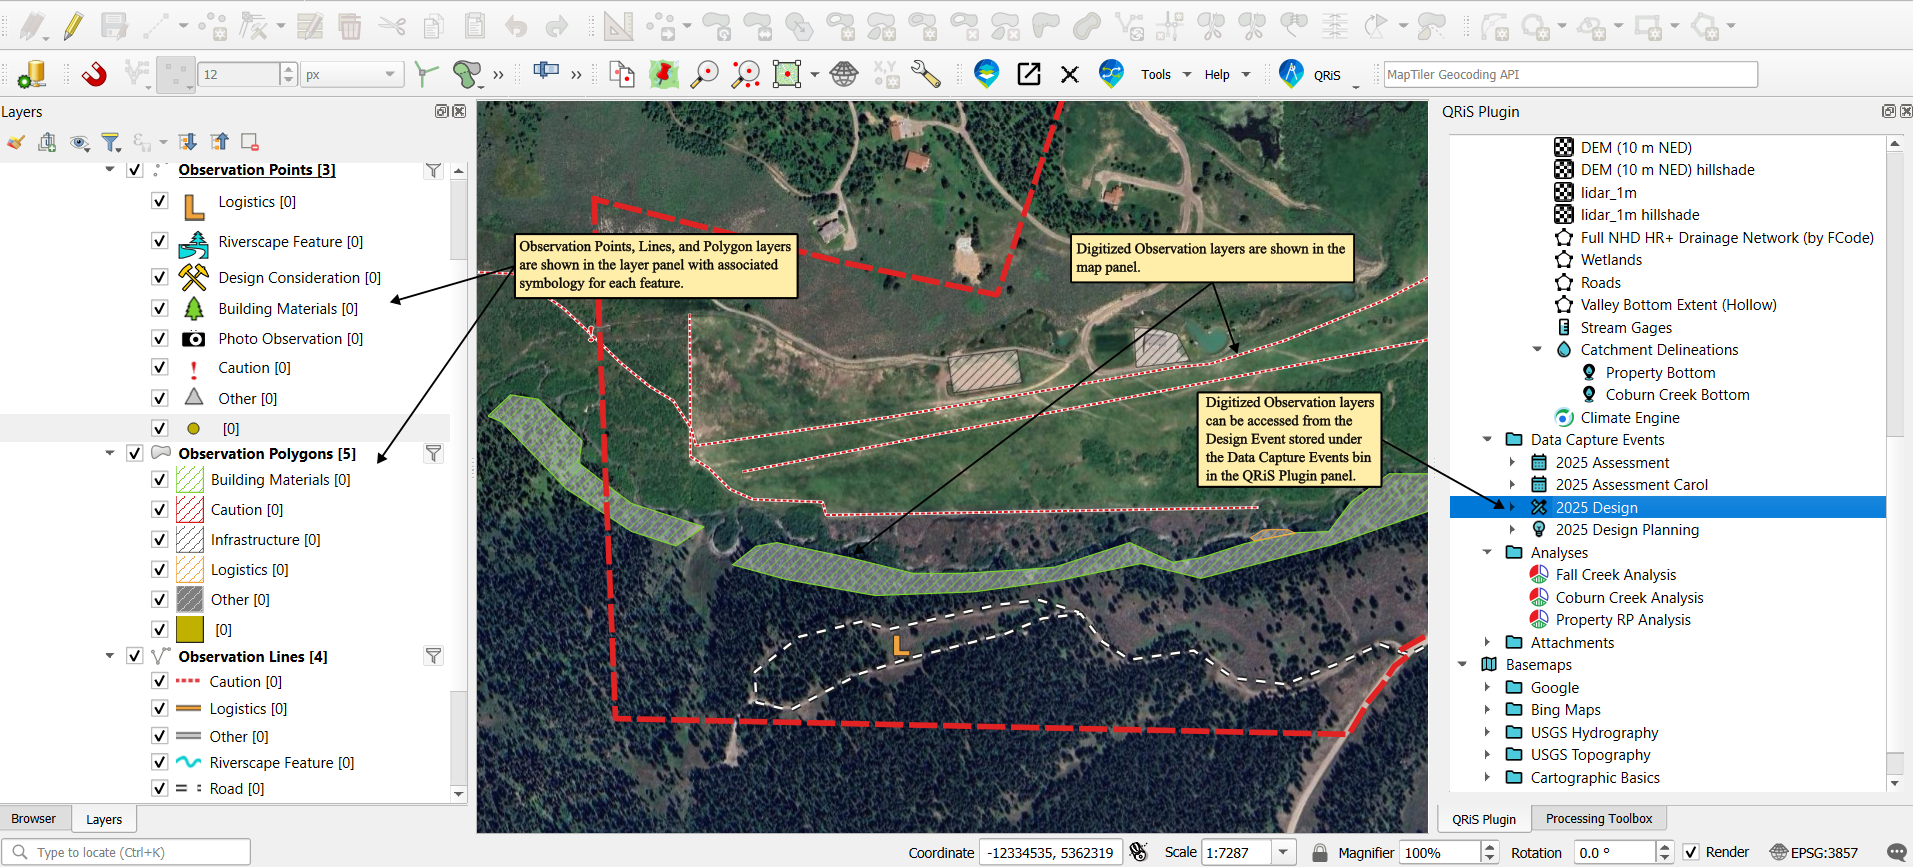
- Once your design is created and is displayed in the Data Capture Events bin, right click on it and select
Add All Layers to the Map. - Layers in Design Protocol
- Observation Layers
- Observation Points: point feature(s) of design logistics, riverscape features of note, design considerations, building materials, photo observations, caution, and other important features related to the design
- Observation Polygons: line feature(s) of building materials, caution, infrastructure, logistics and other important features related to the design
- Observation Lines: polygon feature(s) of caution, logistics, riverscape features of note, roads, and other important features related to the design
- Structure Layers
- Structure Points: point feature(s) of design structure; shows location of structure
- Structure Lines: line feature(s) of design structure; shows location, length, and orientation of structure
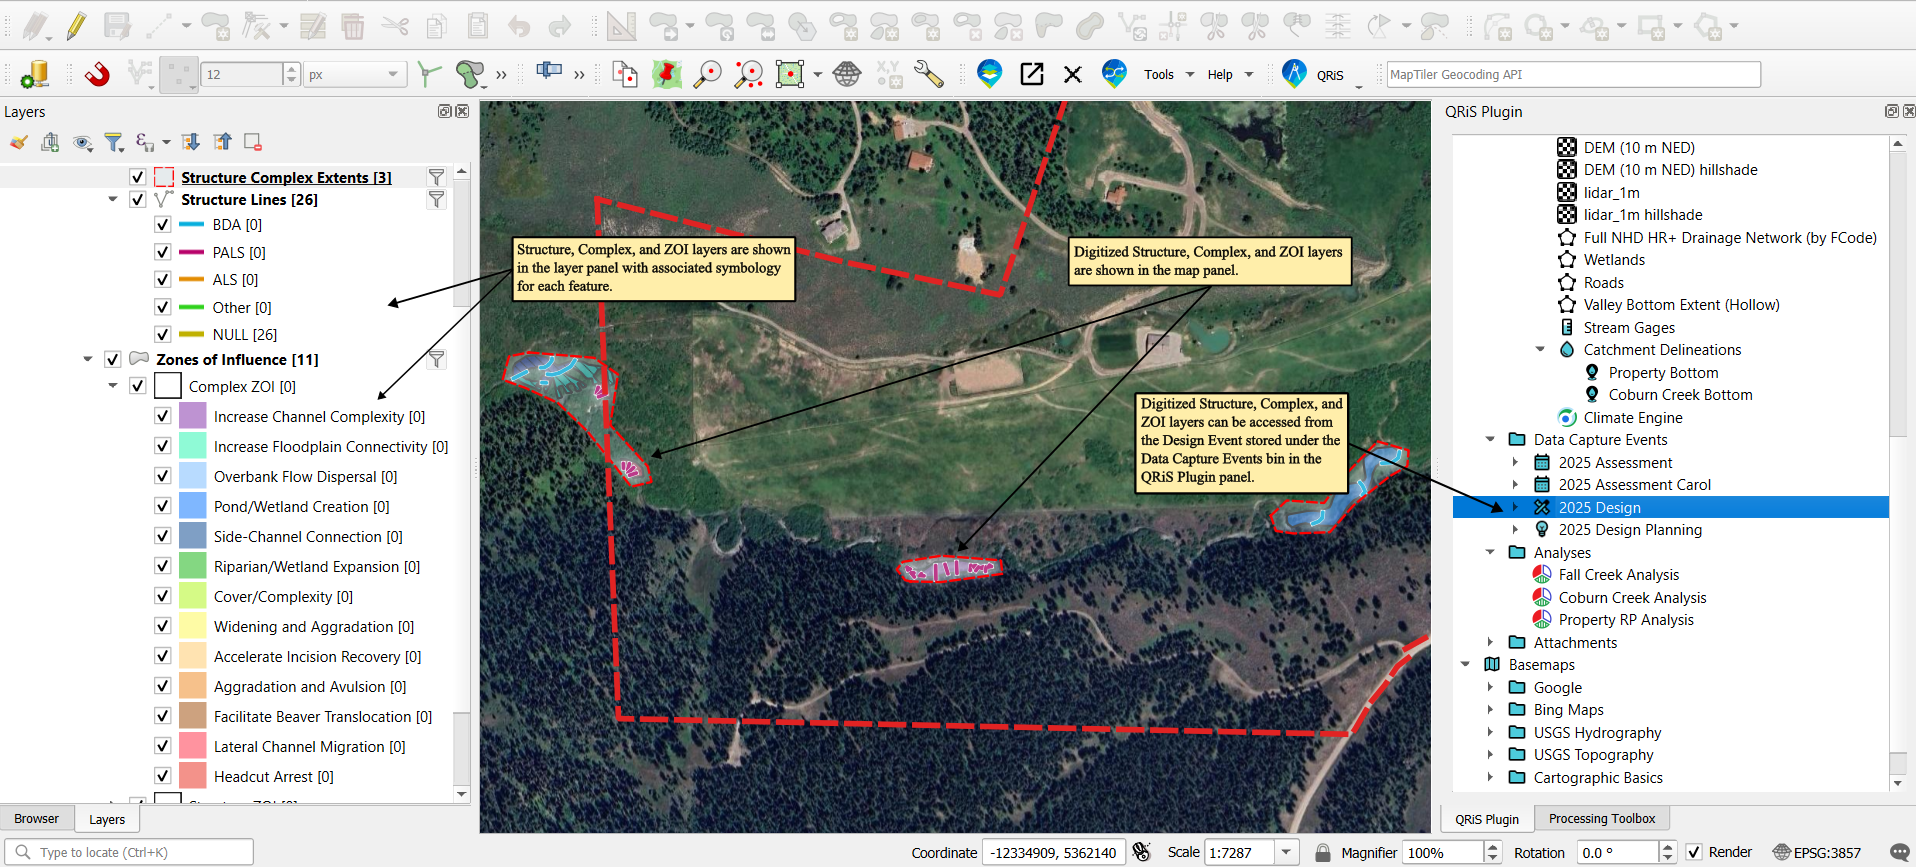
- Complex & ZOI Layers
- Structure Complex Extents: polygon area where multiple structures work together to achieve a common objective
- Zones of Influence: anticipated areal effect that complex (i.e., multiple structures) or individual structure will influence and its stated objective
- Observation Layers
- Toggle on
Editingfor Observation layers (can be either point, line, or polygon layer) to digitize and highlight important riverscape features, logistics, and potential constraints for the design (staging areas, where to get material, site access, etc.) before digitizing structure points/lines & complexes/ZOI
D. Structure Scale Design & ZOIs
- Toggle on
Editingfor the Structure Lines layer to digitize PALS - Bank Blaster Structures (see slides 16-24 in Module E). Right click when done to open the attribute window. - Select PALS - Bank Blaster from dropdown menu under Structure Type for each structure digitized.
- Once complete, turn off
Editingfor the Structure Lines layer and select the Zones of Influence (ZOI) layer and toggle onEditingfor that layer. - Digitize ZOI for the Bank Blaster Structures and right click when done to open the attribute window.
- Select Structure: Geomorphic - Erode Bank under the dropdown menu for ZOI Type and Typical Flood under the dropdown menu for Stage.
- Repeat steps 1-5 to add Primary & Secondary BDAs. For step 2, we will select Primary BDA & Secondary BDA for Structure Type and for step 5, we will select Structure: Hydraulic - Overflow & Structure: Hydraulic - Ponding Flow for ZOI Type for digitized BDA features.
E. Complex Scale Design & ZOIs
- We will repeat steps 1-5 in Section D to digitize design structures except we will be doing this for multiple complexes with stated objectives instead of at the structure scale (see slide 36 in Module 4D as example).
- Once all design features are digitized, we will then digitize complex ZOIs by selecting the Zones of Influence layer and toggle on
Editing. - After digitizing the ZOI, right click to bring up the attribute window and select Complex: Pond/Wetland Creation for ZOI Type and Baseflow for Stage.
F. Design Packaging
- We will upload your completed design report to the Attachments bin in QRiS See slide 13 from Module 4D for more information on components for Design reporting.
- Right click on the Attachments bin in the QRiS plugin window, and select Add New File Attachment.
- Find where your design report is located and select it in the Browser window and click on
Open. - In the Import Attachments Window, you can rename your report (or keep its default name) and click
Ok. - We will update your QRiS project w/design report in the Data Exchange by following the same steps to upload a QRiS project to the Exchange except we will change
Export Typein the Export Project window from New Riverscapes Studio Project to Update Existing Riverscapes Studio Project (see video below for the full upload process).
G. As-Builts
Overview of ArcGIS Online (AGOL) Products that collect offline as-built data (FieldMaps & Survey123) and how offline layers are organized
Importing AGOL Offline Data into QRiS
- Download offline data and add to QGIS project (in this example, offline data was downloaded from AGOL Experience Builder)
- Right click on
Data Capture Eventsbin, selectLow-Tech Process-Based Restorationand click onAdd New As-Built Surveyto create a new as-built event. - Select the relevant as-built layers you want to add from the As-Built Protocol to the
Layers in Usepanel. - Fill out relevant metadata values under
Basic Properties, including Valley Bottom, Associated Design, As-Built Phase, Survey & Construction Date(s), Observerors, and Survey Sources relevant to your project. - Under
Bases for As-Built, select raster layers and/or Data Capture Events that will be used as context for your as-built. - (Optional) Fill out descriptive narratives and other relevant details about your as-built under the
DescriptionandMetadatatabs. - Once complete, right click on the newly created as-built event in the Data Capture Events bin and select
Add All Layers to the Map. - Expand the As-Built Event and right click on the the Structure Points/Lines layer, select
Import Features From..., and click onLayer in Map. - Select the layer that contains your survey data.
- A new window will appear where you can copy structure values from your survey date and add those to your QRiS As-Built. To do so, find the field that contains the structure type values in your survey data and click on the
Assignbutton under the Transfer Values field. - Another window will appear where you can correlate the structure type values in your survey data to the ones listed in the As-Built Protocol.
- Click
Okonce you are done assigning values. - (Optional) You can also assign other fields as notes/comments by check marking the box next to
Notesunder the Copy Values field for the relevant field storing notes/comments. You can also keep any field in your survey data as metadata (i.e., added as seperate field in QRiS). - Click
Okonce you are done assigning values and the Structure Points/Lines layer should populate with features.
Exporting QRIS Data to As-Built Survey in AGOL
- Create a temporary Geopackaage to store QRiS As-Built data by right clicking on any folder in the Browser panel, selecting
New, and clicking onGeopackage. - Click and drag As-Built Structure Points/Lines layer(s) from the Layer panel and drop into the newly formed geoapckage.
- Open ArcPro and add AGOL As-Built survey to map.
- Add the QRiS data stored in the geopackage to the map by finding the geopackage, expanding it, and dragging the layer(s) into the map.
- Find the
Appendtool. - Once opened, fill out the
Target Datasetwith your AGOL As-Built data, theInput Datasetswith your QRiS data, and select the Use the field map to reconcile field differencex option underField Matching Type. - Align the QRiS fields with the corresponding AGOL fields by selecting the pencil icon under each field and selecting the appropriate field in the popup window that appears.
- Click
Runto append the dataset.
Resources
Example As-Built Survey for Survey123
Click here to download example xlsx form for Survey123 As-Built.
Example Cartographic Reports
Click here to see example cartographic reports of designs, as-builts, and monitoring.