Climate Engine Raster Layers
QRiS allows you to add geospatial context rasters from the Climate Engine API. These layers can provide valuable information about climate variables, such as temperature and precipitation, which can be useful for understanding the environmental context of your project.
The Climate Engine Raster Layers are for display purposes only and are not used in the QRiS analysis. They can be used to visualize climate data alongside your project data, providing a richer context for your analysis.
Adding Climate Engine Raster Layers
- In the QRiS Project Tree, navigate to Inputs/Context/Climate Engine, right click and select Add Climate Engine Map Layer.

The Add Climate Engine Map Layer form will open.
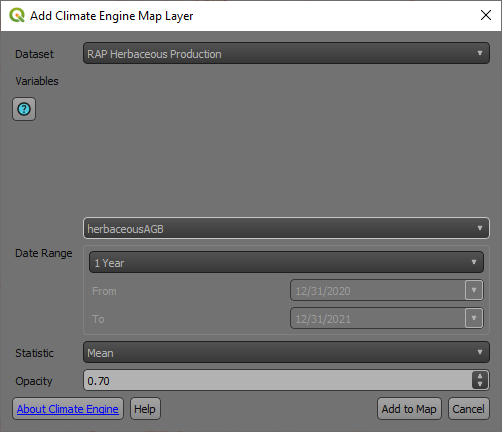
- On the Add Climate Engine Map Layer form, select the desired Dataset. The associated variables will then be displayed in the Variables list.
- Select the desired Variable from the list. The form will update to show the available time ranges for the selected variable.
- Select the desired Time Range from the list.
- Select the desired temporal statistic from the Statistic drop down list. The available statistics depend on the variable and time range selected.
- Optionally, you can specify an Opacity value to control the transparency of the layer. A value of 0 means fully transparent, while a value of 1.00 means fully opaque. A default value of 0.70 is provided.
- Click the Add to Map button to add the layer to the map.
It may take a few moments for the layer to load, as the map tiles must be generated on the Google Earth Engine Server via the Climate Engine API. Once the layer is added, it will appear in the map table of contents.
The map tiles will persist on the Google Earth Engine Server for 24 hours. After that, the tiles will be deleted and the layer will no longer be visible on the map. To refresh the layer, you can re-add it using the same steps.