Import DCE Layer
Data Capture Event layers allow for several options for importing existing features from various data sources, including external files, map layers, and existing project layers.
To begin, right click on the desired Data Capture Event Layer in the Project Tree and select Import Features from..., then select one of the following options:
Existing Project or DCE Layer
This option allows you to import features from an existing layer within your project, inciuding Inputs and other DCE layers of the same geometry type.
When the form opens, first select the option of the type of layer you want to import from:
- Project Inputs: This option allows you to import features from any of the Input layers of the same geometry type in your project.
- DCE Layers (Same Layer Type): This option allows you to import features from any other DCE layer of the same protocol and layer defintion. This allows for a quick import of features from one DCE layer to another, for example, you want to carry over existing structures froma previous DCE to a new DCE that has the same protocol and layer definition.
- DCE Layers (Different Layer Type): This option allows you to import features from any other other DCE Layer of the same geometry type, regardless of protocol or layer definition. The difference here is you will need to use the attribute mapping tool to direct the attributes from the source layer to the correct attributes in the destination layer.
Layer in Map
You can also import data into QRiS from a layer of the same geometry type that exists in your current map, including temprorary or scratch layers. The layer must be turned on and visible in the layer tree for QRiS to recognize it. A new window will pop up to select the desired layer, navigate to the correct layer and click OK.
External File
This option allows you to import features from an external file, such as a shapefile or geojson. When you select this option, a file browser will open to allow you to navigate to the location of the file you want to import. Select the file and click Open. The imported feature class will be copied to your project and added to the Project Tree under the selected Data Capture Event Layer.
Attribute Mapping
When importing features from a source that does not have the same schema as the DCE layer (e.g., different layer type, layer in map, or external file), you will be prompted to use the attribute mapping tool to map the attributes from the source layer to the correct attributes in the destination DCE layer.
-
First specify the inputs for the layer to import:
- Input Feature Class / Map Layer: Displays the source dataset selected for import.
- Data Capture Event: Displays the QRiS event associated with the target layer.
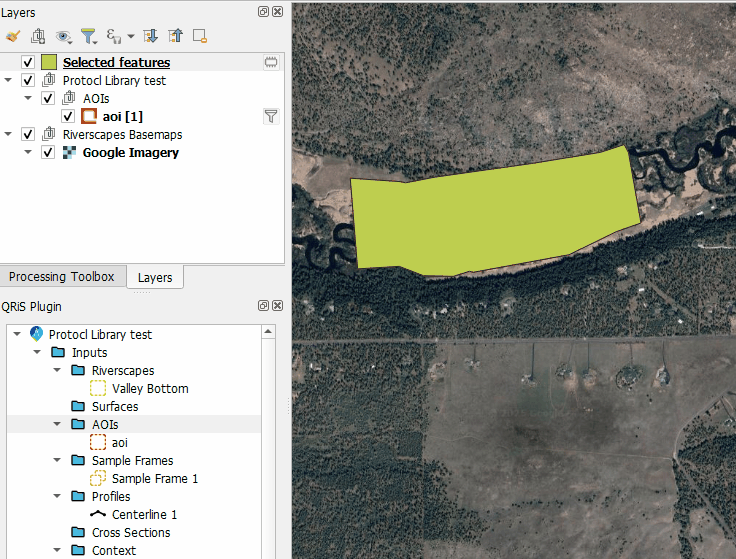
- Clip to AOI: Select an Area of Interest (AOI) to clip the imported features, or choose "None" to retain the full dataset extent.
- Target Layer: The destination layer in the QRiS project where features will be added.
-
Next, choose the option Import Fields to include attributes or Ignore Fields to only import the feature geometry.
-
If Import Fields is selected, a table displays the input fields and available mapping options:
- Input Field: The name of the field in the source dataset.
- Data Type: The data type of the source field.
- Retain Values: Check this to store the original attribute values within the
metadatacolumn of the QRiS database. This preserves source data even if it doesn't map to a standard QRiS field. - Transfer Values: Use the "Assign..." button or the checkbox to map unique values from the input field to standard values in the destination schema. This is useful for transposing the existing attributes into the standardized attributes of the DCE layer.
- Copy Values: Use the checkbox and dropdown to copy values from the input field directly into a compatible QRiS target field.
-
Run: Click OK to execute the import.
The tool will process the features, handling any necessary geometry conversions (e.g., exploding multi-part geometries) and report the number of features successfully imported.