Cross Sections
Cross sections are transect lines across a Riverscape. They are used to measure the elevation of the river bed and the water surface at a given point in time.
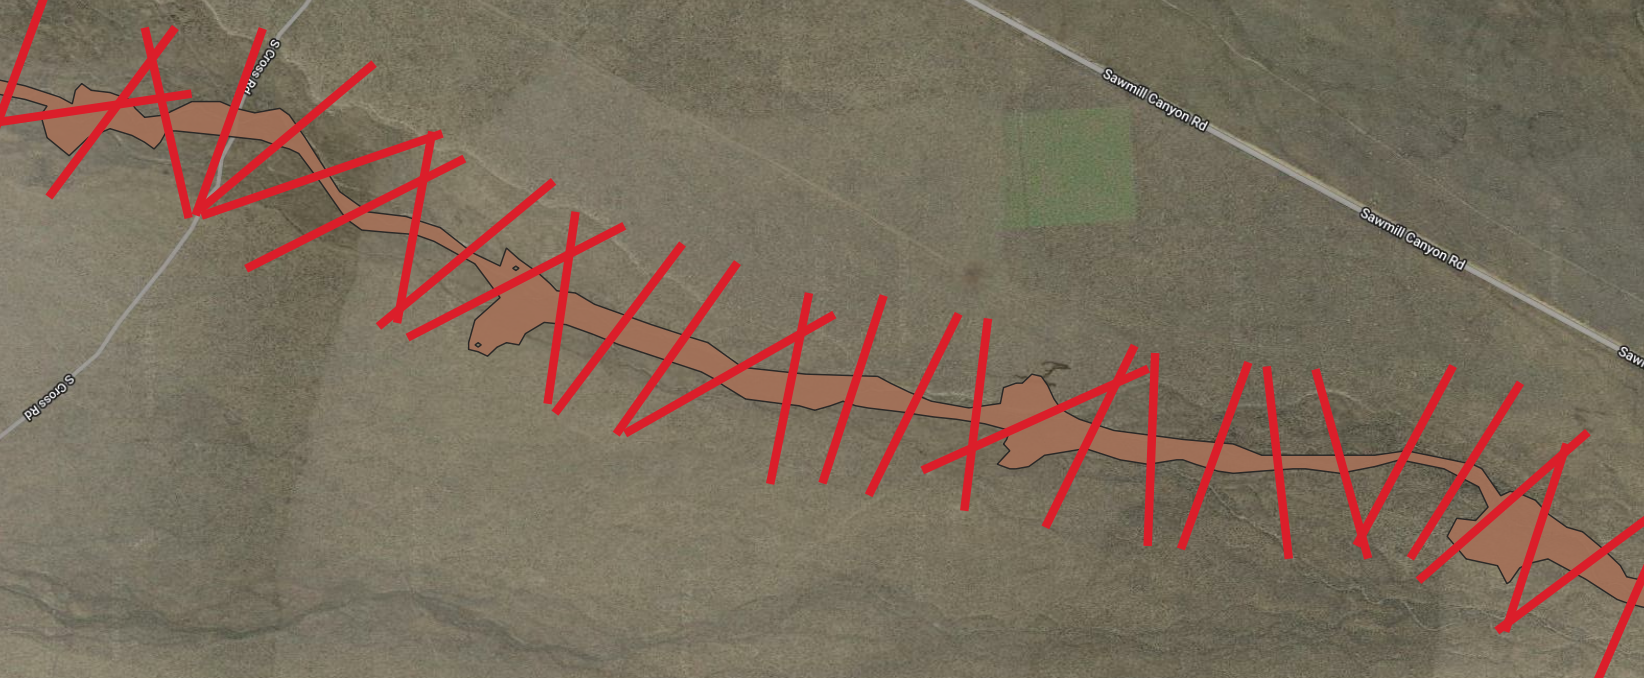
Cross sections can also be used to subdivide a polygon into segments as a way of generating a sample frame.
Adding New Cross Sections
Import Existing Features as New Cross Sections
You can import an existing polyline feature class and use it as a cross section layer. Importing existing data is covered in Importing Features.
Create New Cross Sections from Scratch
- Right click on the Cross Sections folder in the QRiS project tree and select Create New (Manually Digitized) Cross Sections.
- This will open a window where you can specify the name and description of the cross sections. You can also specify metadata key/value pairs.
- To start digitizing the cross sections right away, make sure the Add to Map and Start Edit Session checkboxes are checked.
- Click OK to create the new cross sections. You can now use the standard QGIS editing tools to digitize the cross sections on the map. Remember to stop editing and save your changes before the cross sections are available for use with other features.
Working with Individual Cross Sections
View/Edit/Export a Cross Section in the Map
You can add a cross section to the map by right clicking on any individual cross section in the QRiS project tree and selecting Add to Map. This will add the cross section to the map as a new layer.
With the cross section added to the map, you can use the standard QGIS editing tools to edit the polyline feature. Remember to stop editing and save your changes before the cross section is available for use with other features.
View/Edit Cross Section Properties
To edit the properties of a cross section, right click on the cross section in the project tree and select Properties. This will open a window where you can edit the name, description, and metadata of the cross section.
In addition, you can view simple statistics about the cross section, such as the number of features and total/average/min/max length in the Statistics Tab. You can set the display units and export the statistics as a CSV file for use in other applications.
Generate a New Sample Frame
The sample frame tool generates sample frames from three inputs features that you have already imported or created. To use the sample frame tool:
Right click on the cross section layer within your Cross Sections node and choose Generate Sample Frame and the create sample frame dockable window will appear.
Refer to Create a New Sample Frame from Existing QRIS Layers for further instructions as both of these use the same tool.
Deleting Cross Sections
To delete a cross section, right click on the cross section in the project tree and select Delete. This will remove the cross section from the project.
You cannot delete a cross section if it is locked. You will need to unlock the cross section before you can delete it.