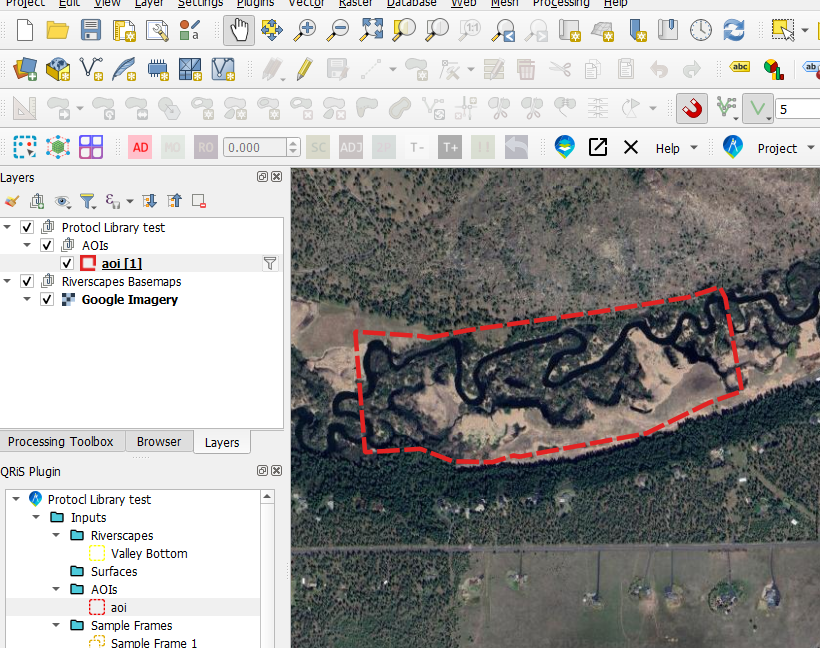
Areas of Interest
Areas of Interest are polygon feature classes that can be used to clip other layers within your QRiS project. For example, you may want to clip your data to a specific reach, county or watershed. They may also be used as a sample frame for Climate Engine or QRiS analyses.
You can have as many AOIs within your project as you like. And each AOI can have multiple polygon features.
Adding a New AOI
There are two pathways to add a new AOI to your QRiS project. You can either import an existing polygon feature class or create a new AOI from scratch.
Import Existing Features as a New AOI
You can import an existing polygon feature class and use it as an AOI. Importing existing data is covered in Importing Features.
Create a New AOI from Scratch
You can create a new AOI by drawing a polygon on the map. To do this,
- Right-click on the AOIs folder within your QRIS project and select the + Create New (Manually Digitized) AOI menu option.
- Provide a name and optional description and metadata items for the new AOI. You can also specify if the AOI should be used as the Project Bounds for the project.
- To start digitizing the AOI right away, make sure the Add to Map and Start Edit Session checkboxes are checked.
- Click OK to create the new AOI. You can now use the standard QGIS editing tools to digitize the AOI on the map. Remember to stop editing and save your changes before the AOI is available for use when importing other data.
Add Centroid of the AOIs to the Map
You can add the centroid of the union of all AOI features to the map by right clicking on the AOIs folder within your QRiS project tree and selecting Add Centroid to Map. This will add a new point layer to the map with a single point feature representing the centroid of all AOI features.
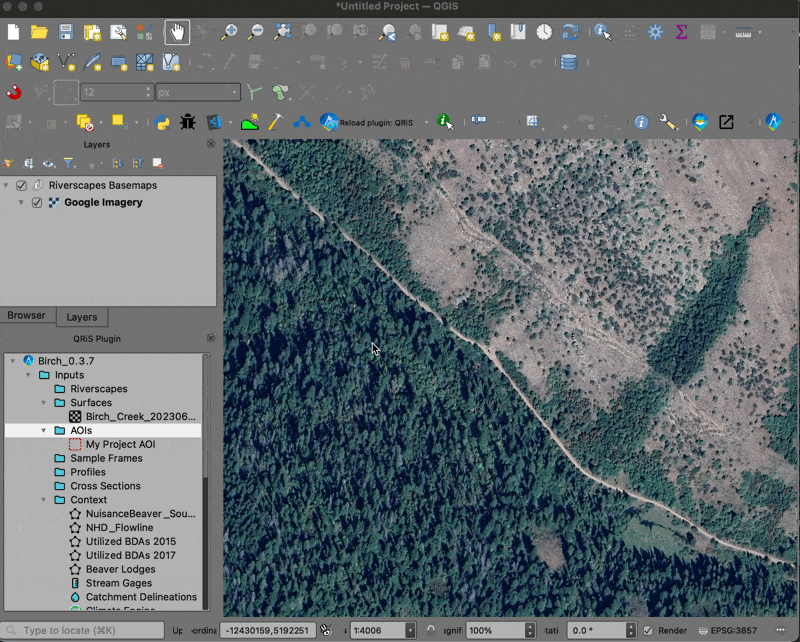
Working with Individual AOIs
View/Edit/Export the AOI Geometry
You can add an AOI to the map by right clicking on any individual AOI in the QRiS project tree and selecting Add to Map. This will add the AOI to the map as a new layer. Double clicking on a layer in the QRIS project tree will also add it to the map.
You can also add the AOI to the map and use the standard QGIS editing tools to edit the AOI polygon. Remember to stop editing and save your changes before the AOI is available for use when importing other data. Layers that have already been imported using the AOI will not be updated when you edit the AOI. You will need to re-import the layers to see the changes.
You can easily export an AOI to any one of several popular GIS data formats using built-in functionality of QGIS. Right click on the AOI layer in the map table of contents and choose Export > Save Features As.... You can then choose the format you want to export to, such as Shapefile, GeoJSON, or KML. Provide a name and location for the exported file and click OK to save it.
If your AOI has multiple features and you only want to export a single feature, you can select the feature in the map, using the select tool, and then right click on the AOI layer in the map table of contents and choose Export > Save Selected Features As.... This will only export the selected feature.
View/Edit AOI Properties
You can view or edit the properties of an AOI by right clicking on any individual AOI in the QRiS project tree and selecting Properties. This will open the AOI in QGIS and allow you to edit the AOI name, set the AOI as the Project Bounds, and edit the description and metadata.
In addition, you can view simple statistics about the AOI, such as the number of features and total area in the Statistics Tab. You can set the display units and export the statistics as a CSV file for use in other applications.
Zonal Statistics
See the Zonal Statistics documentation for how to calculate zonal statistics using your AOI.
Create an Analysis
You can create an analysis using an AOI by right clicking on any individual AOI in the QRiS project tree and selecting Create Analysis. This will open the Create Analysis window with the AOI already selected as the spatial extent for the analysis. You can then select the type of analysis you want to run and provide the necessary parameters to run the analysis.
Delete an AOI
You can delete an AOI by right clicking on any individual AOI in the QRiS project tree and selecting Delete. This will remove the AOI from the QRiS project. It will not change any other data layers that used the AOI to clip the data.
You cannot delete an AOI if it is Locked. You will need to unlock the AOI before you can delete it.