Profiles
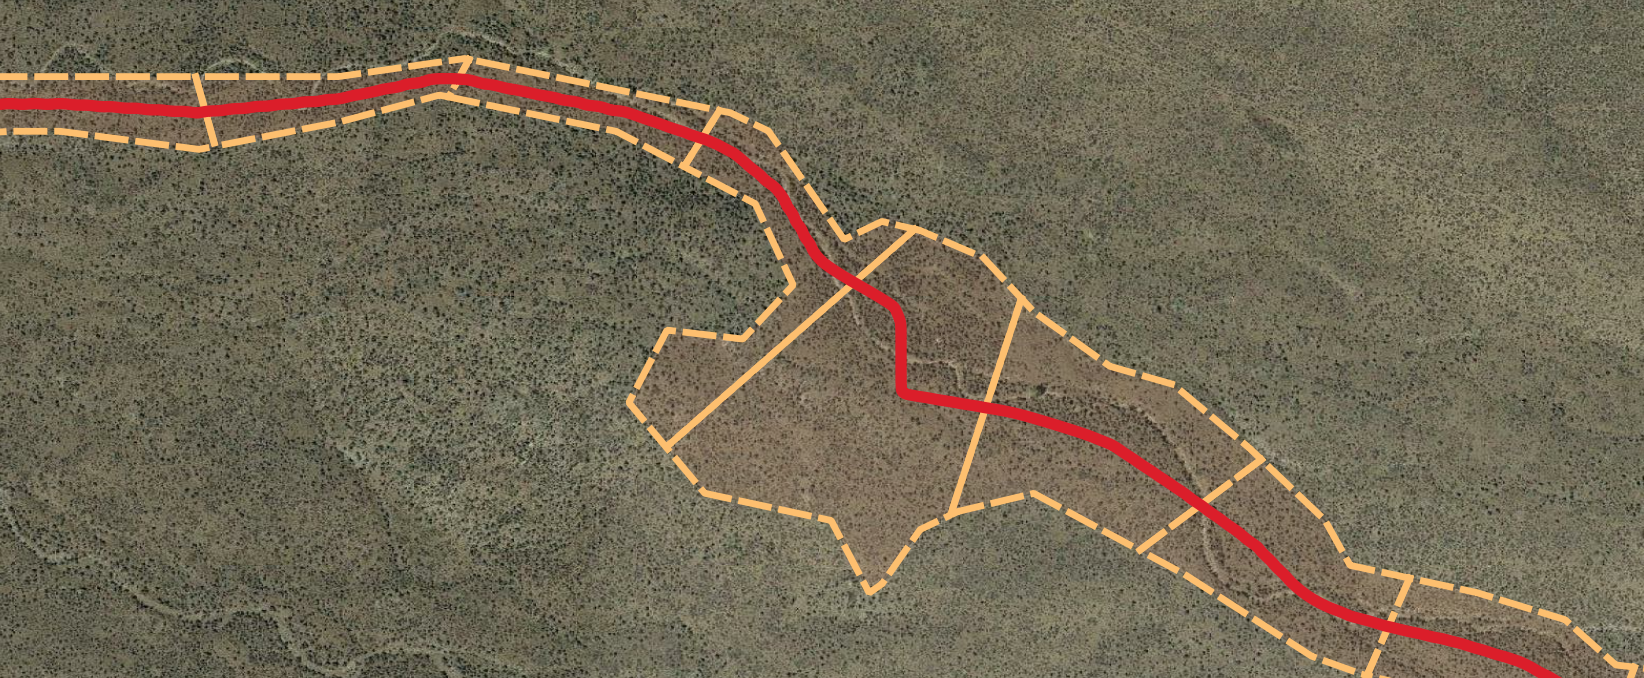
QRiS profiles represent longitudinal lines down your riverscape. The most common use is to represent the valley centerline. Profiles are used to generate cross sections, and from there, generate sample frames. A valley centerline is also necessary for calcualting certain Metrics in Analyses
A profile in QRiS is simply a polyline feature class. However, you may want to extract elevation profiles from a DEM along that polyline. For that, we recommend the Profile Tool plugin for QGIS. This is a useful tool to create and save elevation profiles within your riverscape. It is not a part of QRiS but can easily be integrated into your QRiS workflow.
See our How to Use the Profile Tool tutorial for more information.
Adding a New Profile
Import Existing Features as a New Profile
You can import an existing polyline feature class and use it as a profile. Importing existing data is covered in Importing Features.
Create a New Profile from Scratch
You can create a new profile by drawing a polyline on the map. To do this:
- choose the Create New (Manually Digitized) Profile option from the Profiles folder within your QRiS project.
- Provide a name and optional description and metadata items for the new Profile.
- To start digitizing the Profile right away, make sure the Add to Map and Start Edit Session checkboxes are checked.
- Add the Profile layer to the map by clicking the Add to Map button. You can now use the standard QGIS editing tools to digitize the profile on the map. Remember to stop editing and save your changes to the profile feature.
Working with Individual Profiles
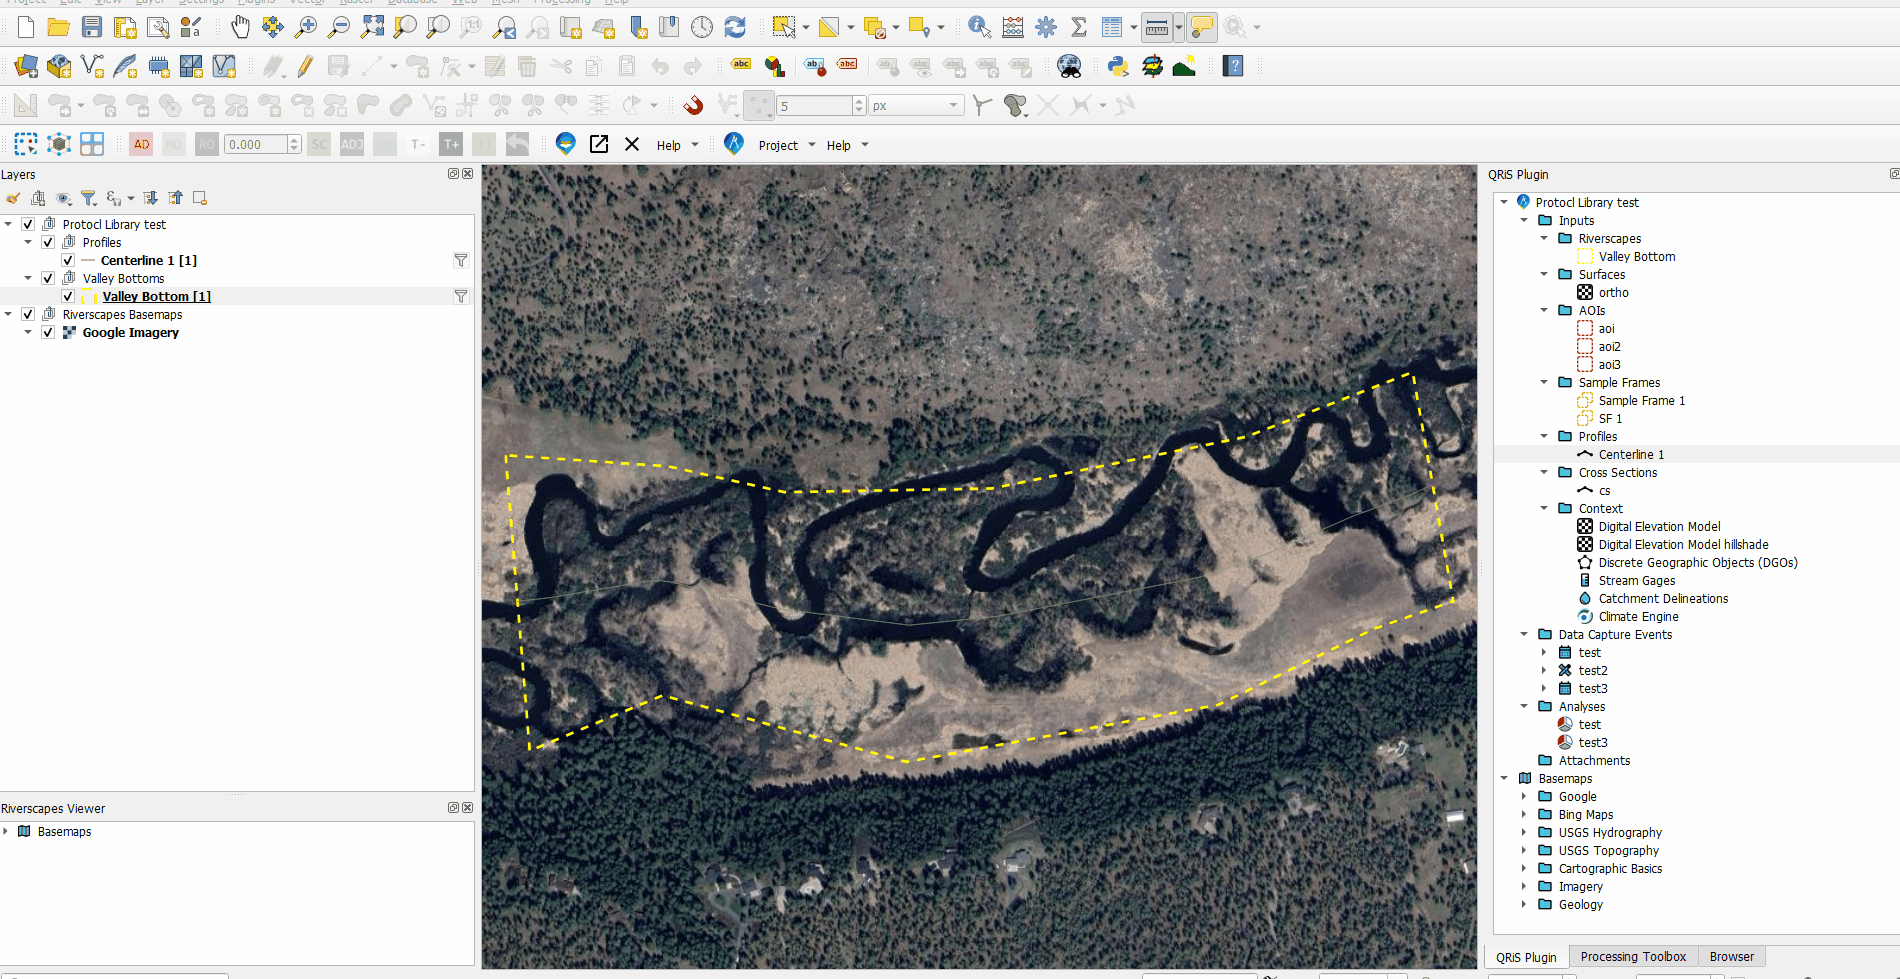
View/Edit/Export a Profile in the Map
You can add a profile to the map by right clicking on any individual profile in the QRiS project tree and selecting Add to Map. This will add the profile to the map as a new layer.
With the profile added to the map, you can use the standard QGIS editing tools to edit the polyline feature. Remember to stop editing and save your changes before the profile is available for use with other features.
View/Edit a Profile's Properties
You can edit a profile by right clicking on any individual profile in the QRiS project tree and selecting Properties. This will open the profile in QGIS and allow you to edit the name and description.
In addition, you can view simple statistics about the Profile, such as the number of features and total length in the Statistics Tab. You can set the display units and export the statistics as a CSV file for use in other applications.
Flip Profile Direction
You can flip the direction of a profile by right clicking on any individual profile in the QRiS project tree and selecting Flip Direction. This will reverse the direction of the profile polyline feature. This is useful if you want to change the upstream and downstream direction of the profile for use with other features.
Some metrics, such as Gradient, require the profile to be oriented from upstream to downstream. If your profile is oriented in the wrong direction, you can use the Flip Direction tool to correct it.
Generate Cross Sections
The cross sections tool creates cross sections along your selected profile (generally the valley bottom centerline) to use as transects and to subdivide your valley bottom into sample frames. To use the cross sections tool:
Right click on the profile layer within your Profiles node and choose Generate Cross Sections and the cross sections dockable window will appear.
On the cross section dockable window select the Profile that you want to use to generate cross sections from.
Changing Spacing will determine the spacing (in meters) between cross sections along your profile.
Changing Length will change the overall cross section length. You may need to iterate on this until all your cross sections extend beyond your valley bottom polygon.
You can then click Generate Cross Sections to see a preview of those cross sections under the given parameters. This allows you to iterate on Spacing and Length until you have the desired outcome.
Once you are happy with the preview click Save Cross Sections. This will open a new window where you can give the cross sections a Name and specify whether you want them clipped by an AOI or Valley Bottom. As always there is optional description and metadata.
The cross sections will be saved under the Cross Sections node.
Create an Analysis
You can create an analysis using a Profile by right clicking on any individual Profile in the QRiS project tree and selecting Create Analysis. This will open the Create Analysis window with the Profile already selected as the spatial extent for the analysis. You can then select the type of analysis you want to run and provide the necessary parameters to run the analysis.
Delete a Profile
You can delete a profile by right clicking on any individual profile in the QRiS project tree and selecting Delete. This will remove the profile from the QRiS project.
You cannot delete a Profile if it is locked. You will need to unlock the Profile before you can delete it.